Adding members
External authentication is included in the District License, and we strongly encourage all districts to take advantage of it if you can. It can significantly reduce the administrative work required of your School Administrators. If you are using external authentication, you will not need to create accounts manually, and you can bypass this step. Click here to learn more.
If you’ll be creating accounts manually, start by clicking on the “Add Members” tab of the Manager.
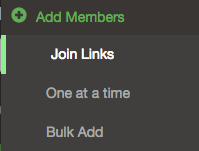
- Join Links
- Adding an individual member
- Adding members in bulk
- People who already have VoiceThread accounts
Join Links
When you click on the “Add Members” tab, you’ll automatically see the page for inviting members to join your license using a “join link”. This allows you to send students and teachers a simple code-protected link that they can use to sign up for VoiceThread independently and join your license instantly. There is one link for students and one link for teachers.
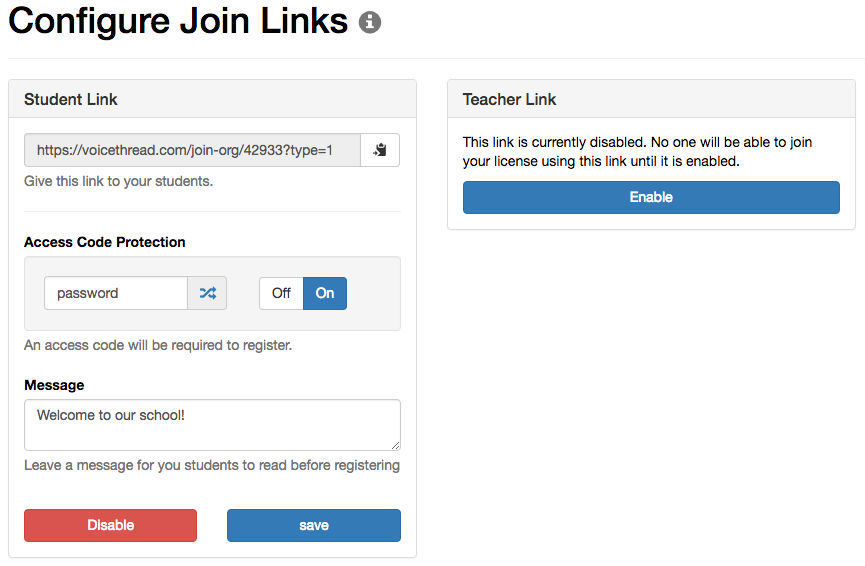
- Enable the “Student Link” for students and “Teacher Link” for teachers.
- Enter an Access Code if you’d like to protect your link.
- Enter a customized message for your members to see when they click on your link.
- Save.
- Send the appropriate link to students and teachers.
Important: The link used determines a person’s account type. It is important that students and teachers use the correct link.
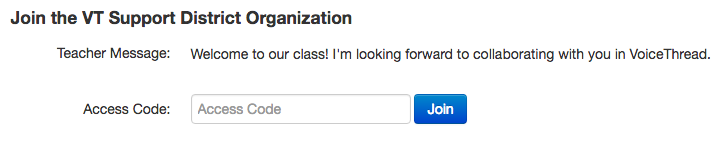
As soon as students and teachers click on these links, they will be prompted to register for a new account or sign in to an existing account. If you have required them to enter an Access Code, they will be prompted to enter that, as well. At that point, they will be added to your license.
Adding an individual member
If you want to add your members manually instead of inviting them to join using a link, go to the tab labeled “One at a time”. This will allow you to set members’ names, email addresses, and passwords in advance.
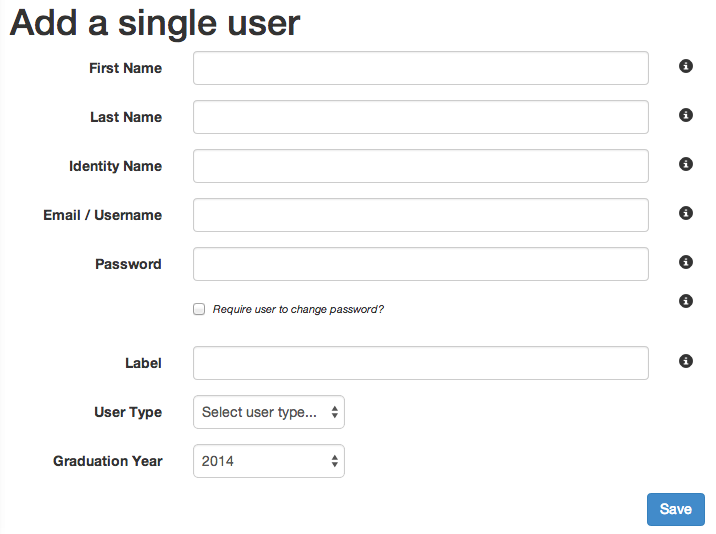
- Enter the person’s information in the fields on this page.
- If you want to require this person to change his password the first time he signs into his account, check the box that says “Require user to change password?”
- Click “Save”.
Be sure to record the account information shown at the bottom of the confirmation page so that you have the member’s password. It will not be shown again.

Adding members in bulk
You can create members’ accounts in bulk using a CSV file. After clicking on the “Add Members” tab, select “Bulk Add” just beneath it.
On this page, you’ll be able to download a sample CSV file. Open this file and fill the spreadsheet with your members’ information. Once you’ve created the file, save it and upload it using the blue “Upload” button.
Creating a CSV file
The sample CSV file available for download in the Manager already has the column headings in place, along with some sample information.

first_name
Enter the person’s real first name. This information is only visible to Administrators, so it’s important to enter the correct information.
last_name
Enter the person’s real last name. This information is only visible to Administrators, so it’s important to enter the correct information.
identity
The Identity is the public name that appears next to the image that represents a user whenever he or she makes a comment. This name will be visible to anyone who can view a VoiceThread on which the person has commented, so you’ll need to follow your school or district policy regarding visible student information. For example, you could use the first name and last initial, which would allow a student to easily recognize his or her own work while not showing a full name.
email_username
Enter a valid email address for all teachers. If your students have valid email addresses, enter their email addresses in this column. This address is the one they will use to sign into their accounts.
If your students cannot use email, you can create fictitious email addresses for them based on your custom domain. Enter any name or identifier as the student’s username. If you enter “john.smith”, then this will be the student’s username, and his full fictitious email address will be john.smith@yourdistrict.ed.voicethread.com.
See Student sign-in for more information about how students can use their usernames to access their accounts.
password
The password needs to be at least 7 alphanumeric characters. Passwords are case-sensitive.
type
Enter “student” for all students and “educator” for all educators.
graduation (optional)
Enter the year in which the student is scheduled to graduate from your school. Leave this field blank for educators.
label (optional)
The label will be attached to a user’s account and can be used with the search/filter functions in the Overview area to find all students who share a label. You can then perform bulk actions such as adding them to a Group, removing them, or allocating resources like export credits and phone minutes. If you do use the label field, make sure your labels are unique. The more information you include, the more useful labels will be.
*groups
If you’d like this user to be a member of a group, enter the exact title of the group in this field. If you are already the owner of a group by this name, the user will be added to that existing group. If a group by that name does not exist yet, one will be created automatically. You will be the default owner and administrator for any new groups.
*
Uploading a CSV file
Once you’ve created and saved your CSV file:
- Go back to the “Bulk Add” page in the Manager.
- Click on the blue “Upload” button, and select your CSV file.
- Your members’ information will be listed on the page, and any errors will appear in red so you can correct them. Click on any information to make corrections if necessary. You can also click the “x” at the far right side of any row to omit that student from your import.
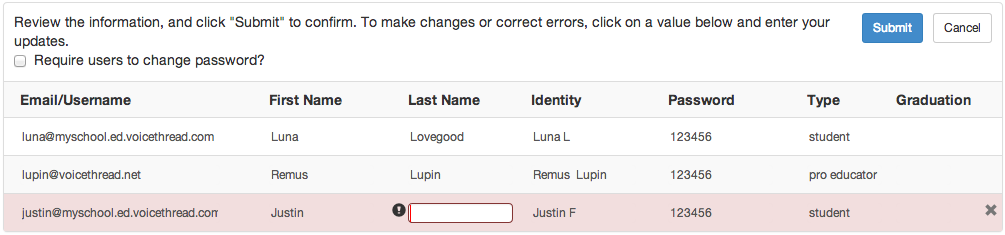
- If you want to require your members to change their passwords to something new the first time they sign into their accounts, check the box that says “Require users to change password?” at the top of the list of information.
- Click Submit.
- Save your CSV file for your records. The passwords will not be visible again after this point.
People who already have VoiceThread accounts
If you add people who already have VoiceThread accounts under the email addresses you entered, then VoiceThread will need their permission before adding them to your license. You’ll know which users already have accounts because in the confirmation list you see after you add them, the password area will say “User has a password”. Their names in your list of members will be highlighted to indicate that their membership is pending, and you won’t be able to manage their accounts until they agree to join your license.
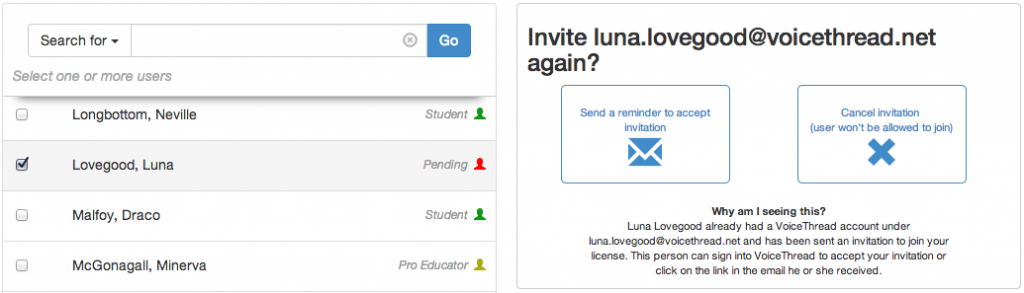
If these users have valid email addresses, they’ll receive email invitations. They can accept your invitation directly from that email. They will also receive an on-screen pop-up invitation to join your Organization the next time they sign into their accounts. This is how students who don’t have valid email addresses or who haven’t checked their email can accept your invitation.

After the person accepts your invitation, he will see an on-screen confirmation message. His account will be added to your license and upgraded immediately.